I hope you read all my previous Linux Mint tutorials in the preferred order, so you know now how to download Linux Mint, how to create the bootable Linux Mint drive, and how to start the Linux Mint Live Environment. Based on that it should be relatively easy to start the actual installation process and successfully install Linux Mint on your hard drive. The icon to start the installation process is already available and ready to use on the desktop of your Linux Mint Live Environment, so in this tutorial, I will explain how to continue from there and install Linux Mint on your PC or Mac.
Content
- Before we start
- Preparations
- The installation process
Article information
- Linux Mint 21.2 Cinnamon and older
This article is part of the following tutorial series:
Before we start
It is of course possible to install Linux Mint on an empty hard disk, but it is also possible to install Linux Mint next to an existing operating system that is already available on your internal drive, such as Windows or even another Linux distribution. In this tutorial I assume that we will perform an installation on an empty hard disk or, if there is already an operating system on the hard disk, we will perform an installation where we will overwrite all existing data. So in this tutorial, I will not explain how to install Linux Mint next to an existing operating system. So keep in mind that we are going to completely empty your hard drive or SSD. When there is still user data, such as documents, music files, photos, and presentations, on your hard disk, make sure that all your data is first saved on a separate disk, USB stick, or in the cloud, before proceeding with the following process. If you want to read more on backup strategies read my article “How to design your perfect backup strategy for Linux“.
Preparations
Before being able to install Linux Mint we need to create a bootable drive and boot into the Linux Mint live environment. In my tutorials “How to create a Linux Mint Live USB stick in Windows” and “How to create a Linux Mint Live USB stick in macOS” I explained how to create a bootable USB device that we can use to start up a Live Environment or to directly install from.
As a follow-up to the creation of the bootable drive, I explained in my articles “How to use Linux Mint without installing on a PC” and “How to use Linux Mint without installing on a Mac” the process to boot into a Linux Mint Live environment so you can try it before actually installing it on your internal drive.
So boot the Linux Mint Live environment as explained in the mentioned articles, or read them first, before going to the next part, the actual installation process.
The installation process
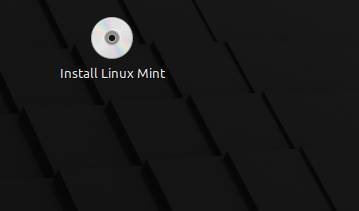
If you have successfully started the Linux Mint Live environment, you will see the following installation icon on your screen.
From here the installation process is really straightforward.
1) Double-click on the icon “Install Linux Mint”.
Welcome
The Welcome screen will be presented to you.

2) Select your preferred language and click Continue.
Keyboard layout selection
The Keyboard layout screen will be presented to you.
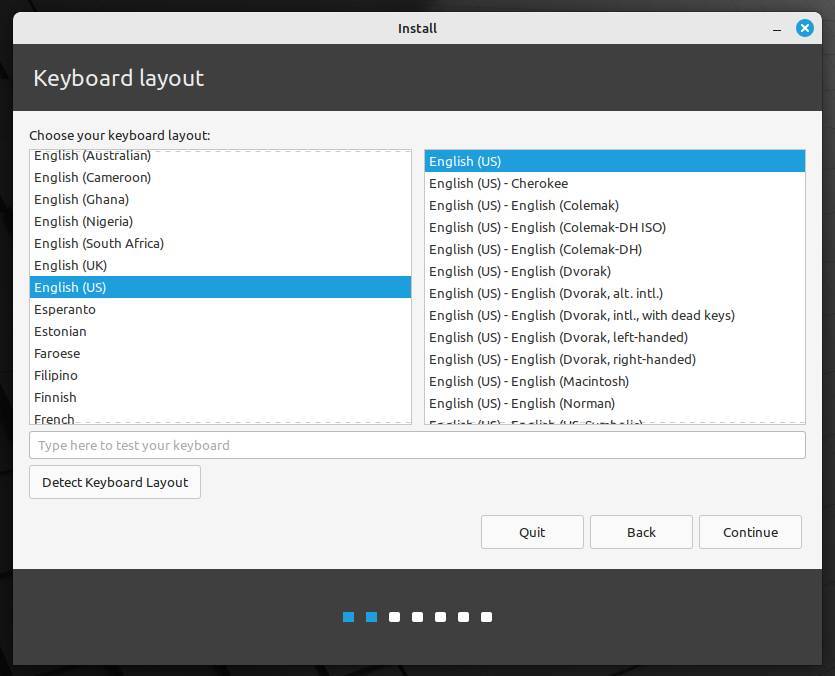
3) Select your keyboard. Most of the time the installer already recognizes the correct keyboard and layout. Click on Continue.
Multimedia codecs
The Multimedia codecs screen will be shown. “Multimedia codecs are required to play some video formats and to properly render some websites.”.
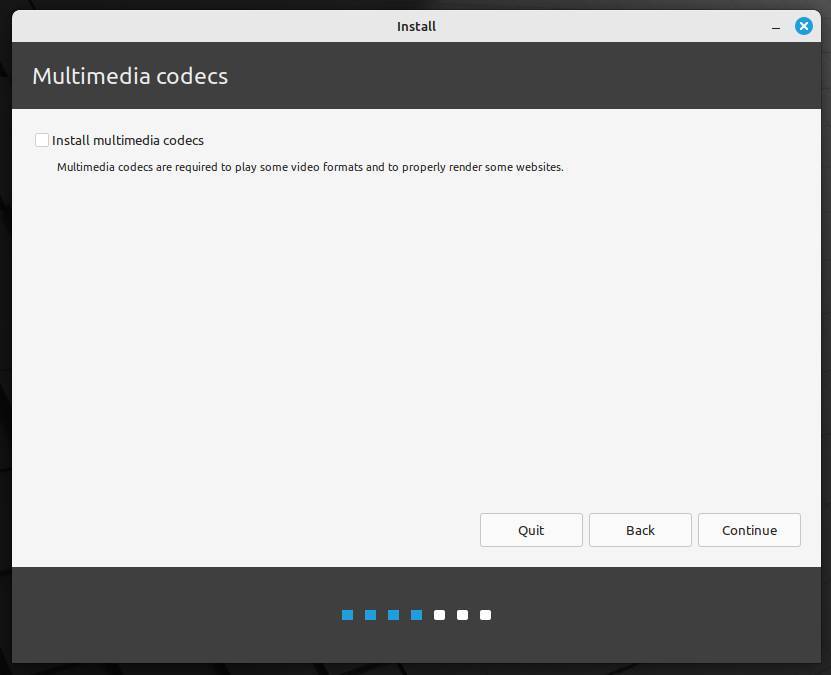
4) Select Install multimedia codecs and click Continue.
This step will take some time which is normal, so don’t worry if it takes a couple of minutes. This will install the required codecs beforehand instead of doing it manually after the installation. And it checks your system for compatibility issues.
Installation type
The installation type screen is giving you different options.
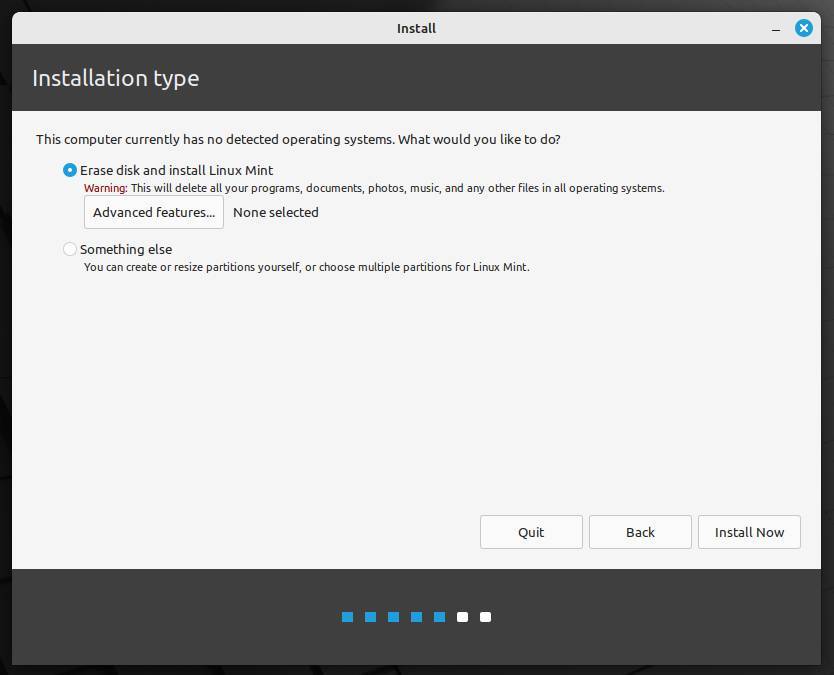
Some are dependent on your current setup.
- Install Linux Mint alongside … (your current operating system)
- Erase disk and install Linux Mint
- Something else
There is also an option for Advanced features:
- none
- Use LVM with the new Linux Mint installation
- Erase disk and use ZFS
In the case of the last two options, you have an additional option Encrypt the new Linux Mint installation for security.
As already mentioned and explained we are not going for the option to install Linux Mint alongside your current operating system. We will choose the Erase disk and install Linux Mint option.
5) Select Erase disk and install Linux Mint. Click on Install Now.
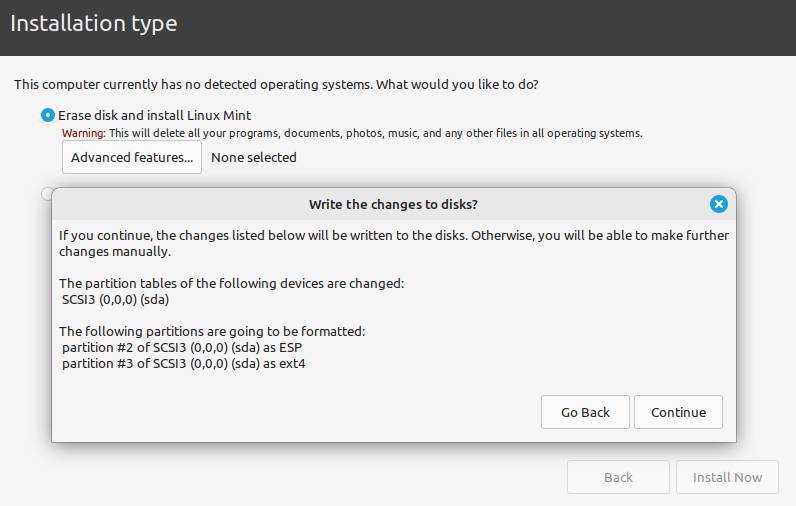
You will see a confirmation screen that explains what will be going to happen and gives a warning that all data on your drive will be deleted.
6) Click Continue.
Where are you?
A screen with a map of the world will be presented to you.
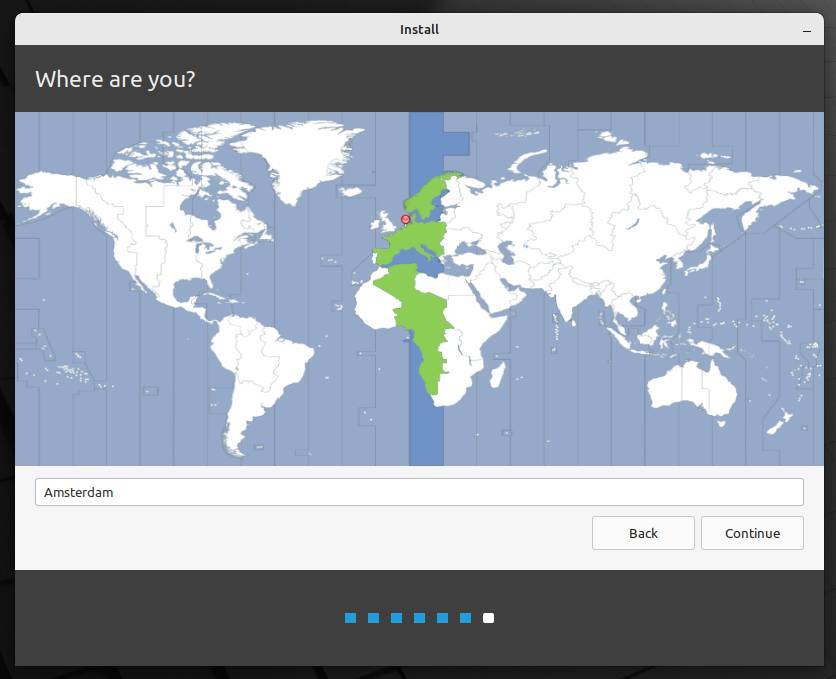
7) Select your region or hometown by typing the name or clicking on the map. Most of the time it is already prefilled. Click on Continue.
Who are you?
The next screen will ask you for some personal details and credentials.
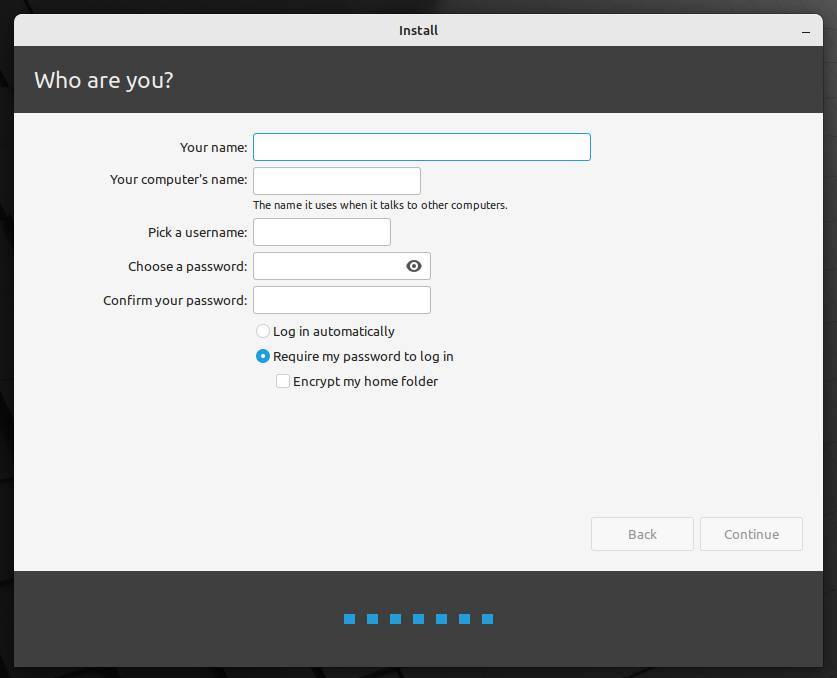
8) Type your name.
9) Type a name for your computer.
10) Type the username that you want to use.
11) Type and confirm your password.
You have the option to log in automatically. I want to advise you to opt for a password-based log in instead of the automatic log in. So keep the standard option.
12) Select Require my password to log in.
13) Click on Continue.
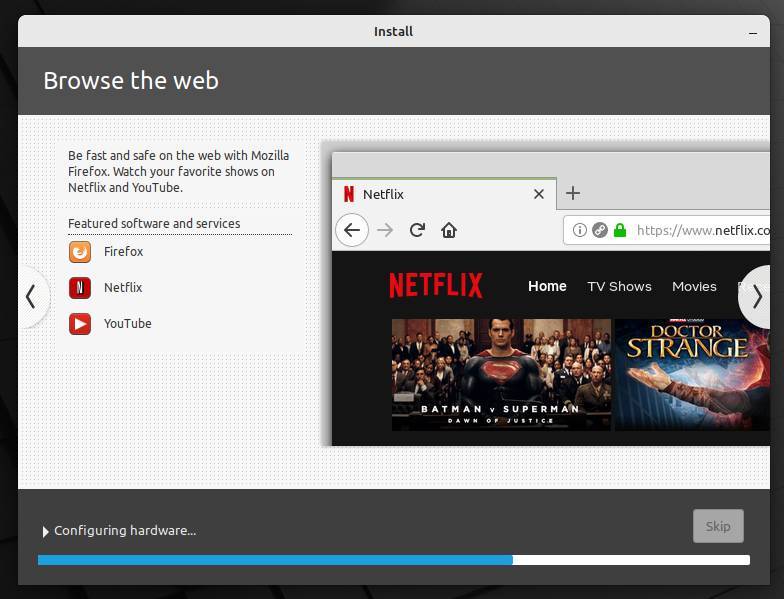
The installation
Now the actual installation will start. A nice slideshow will show you around Linux Mint while the system is being installed on your computer.
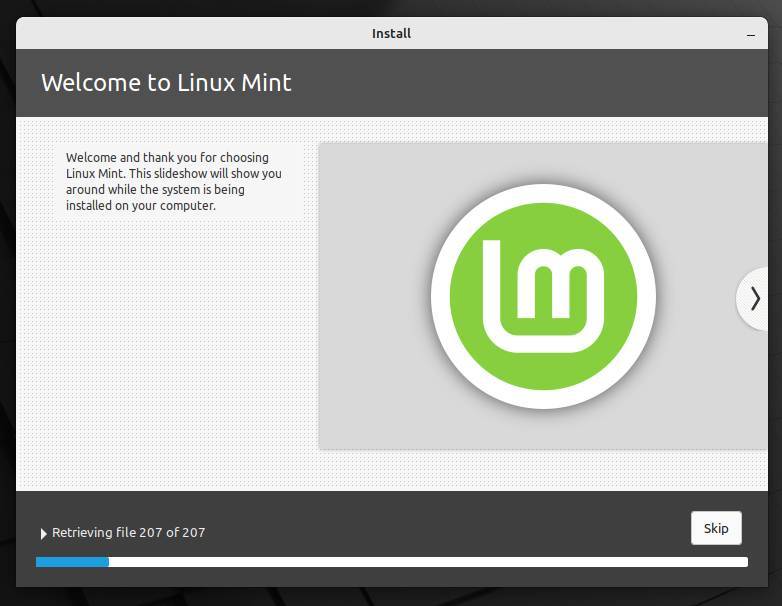
This part of the installation process can take somewhere between 5 and 30 minutes, but even on an old Core 2 Duo 2008 machine i have it only takes 10 minutes to finish the installation.
Installation complete
After a while, the Installation Complete indication will pop up.
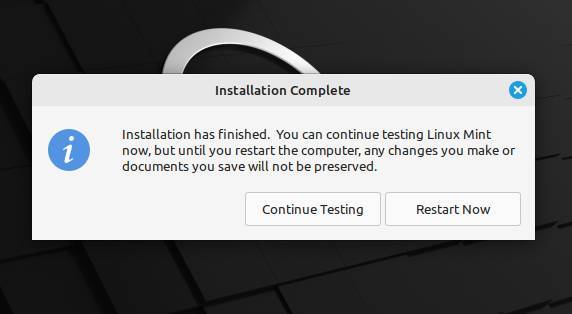
Now you can continue trying out Linux Mint in the live environment, but of course, you want to use the real thing now.
14) Click on Restart Now.
Now a message that you need to remove the USB installation medium needs to be removed.
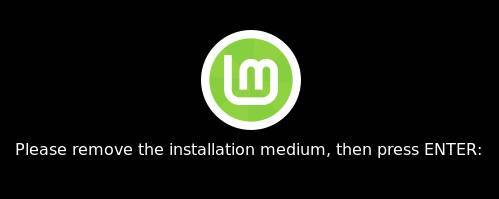
15) Remove the USB drive and press enter.
Your computer will reboot and if everything went well and the installation was done correctly you will be presented with a nice login screen.
16) Enter the password that you provided during the installation process and give enter.
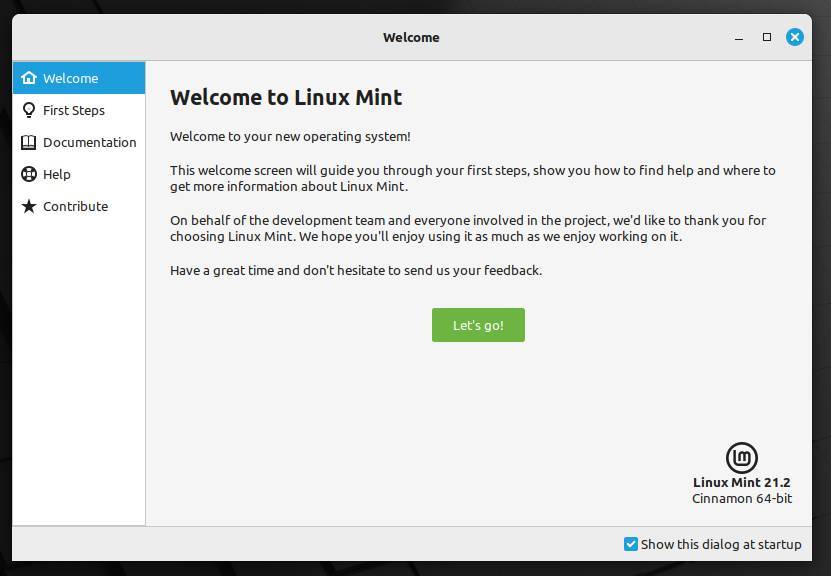
Now the Linux Mint desktop will be visible and the Welcome to Linux Mint screen will be presented to you.
But this will be a topic for the next Linux Mint tutorial.
Final words
That’s it for now. You will probably agree with me that the installation process of Linux Mint was very simple and was most likely very quick to complete. This is a strong advantage over the long installation process of Windows or macOS. In the next Linux Mint tutorial, we will have a look at how to take your first steps in the world of your freshly installed Linux Mint.
Have a look at my latest book on Linux, in Paperback or Kindle format.
For more info on my book click here.
When you want to buy the book click on the image below.
If you appreciate what I do on this website…,