One of the many powerful features of Linux is the ability to start a distribution directly from a USB stick, without affecting your hard drive and the operating system on it. It is therefore not required to perform a complete installation to use or try out Linux before actually installing it. But even if you have made the decision to install Linux individually or maybe next to your current Windows or macOS installation, you need a bootable Linux USB device. In this tutorial, I will explain how to create a Linux Mint bootable USB in macOS and Windows, from which Linux Mint 21 can be started to try out or install.
Content
- What do we need?
- Steps to create a Linux Mint 21 bootable USB in macOS and Windows
- Download Linux Mint 21
- Download Balena Etcher
- Prepare Linux Mint 21 USB stick for Apple hardware from macOS
- Prepare Linux Mint 21 USB stick for generic PCs from Windows
- Install Etcher on macOS
- Install Etcher on Windows
- Create your Linux Mint 21 USB drive with Etcher
Article information
- Linux Mint 21 Cinnamon
Note: My current Linux Mint tutorial series is starting to get a bit outdated, as it was based on Linux Mint 19.X with an Ubuntu 18.04 Bionic foundation. The current Linux Mint 21 is based on Ubuntu 22.04 LTS, the latest long-term support release of Ubuntu. So it’s time to completely rewrite the entire series to the new Linux Mint 21 foundation so that you as a reader will be fully equipped with the latest information. So be patient and give me some time to rewrite the 30 articles as part of this series.
What do we need
Before we can actually create the Linux Mint 21 bootable USB drive we need to have some things available. So what do we need to create a Linux Mint 21 bootable USB in macOS and Windows?
1) USB stick:
A FAT32 formatted, at least 8GB USB memory stick.
2) balena Etcher:
To write the Linux Mint 21 ISO file to the USB stick, we will use the free and open-source application called balena Etcher.
3) Linux Mint 21 iso file:
Besides balena Etcher we also need the Linux Mint distribution that we want to put on the USB stick. For this article, we choose the Linux Mint 21 distribution, but in the end, this depends entirely on your own preference and you can also choose another distribution, such as Ubuntu, KDE Neon, Zorin OS, or Solus.
Note for Apple users: There are a few extra considerations when starting up the USB stick on Apple hardware. This is because Apple’s ‘Startup Manager’, called by holding the Option/alt (⌥) button during startup, will not detect the USB stick without a specific partition table and layout. This should be dealt with in a later step.
Steps to create a Linux Mint 21 bootable USB in macOS and Windows
Download Linux Mint 21
In this article, I assume you did the preparations to download Linux Mint 21 as I have described in my previous tutorial “How to download Linux Mint“, but below is a short summary:
1) Go to https://linuxmint.com/download.php
2) Press the Download button for the Cinnamon Edition.
3) On this page scroll down until you reach your country or the most nearby country.
4) Choose one of the mirror websites and click on it to start the download.
After the ISO image file is downloaded I advise verifying this file. In my tutorial “How to verify your Linux Mint ISO image file” you can read all about it.
Download Balena Etcher
1) Go to https://www.balena.io/etcher/
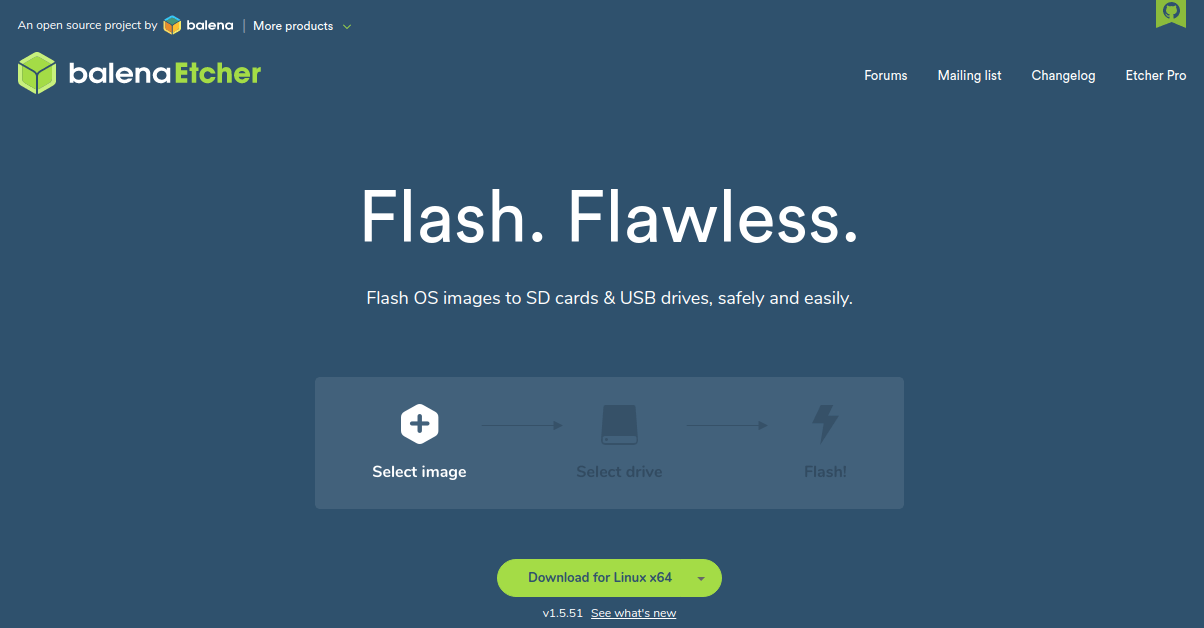
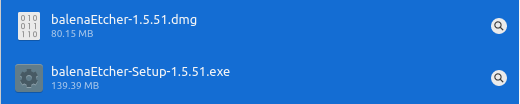
2) Choose Etcher for macOS or Etcher for Windows, depending on the system you are currently running. The balenaEtcher-x.x.xx.dmg or balenaEtcher-x.x.xx.exe will then be found after downloading in your Downloads folder.
Prepare Linux Mint 21 USB stick for Apple hardware from macOS
We start with the preparation of the USB stick. To ensure maximum compatibility with Apple hardware, we first completely empty the USB stick and reformat it using Apple’s “Disk Utility.” But this step can be skipped if you plan to use the USB stick with only generic PC hardware.
- Start Disk Utility from Applications> Utilities.
- Insert the USB stick and see that the new device has been added to the Disk Utility.
- Select the USB stick and select Erase in the toolbar (or right-click).
- Set the format to MS-DOS (FAT) and the schedule to GUID Partition Map. Check carefully that you have chosen the right device and click Erase.
Now macOS will perform the formatting of your USB drive.
Prepare Linux Mint 21 USB stick for generic PCs from Windows
- Open your File Browser with the keyboard combination Windows button + E.
- Look up your USB drive and right-click it.
- Select the option Format…
- Choose the options File system = Fat32, Volume label = LinuxMint and Format options = Quick Format.
- Click on Start and OK.
Now Windows will perform the formatting of your USB drive.
Install Etcher on macOS
After you have downloaded Etcher, go to your Downloads folder and double-click the dmg file to mount the package. Then Etcher can be run at the current location or dragged to your Applications folder.
Note: By default, recent versions of macOS block the execution of applications from unidentified developers. To solve this problem, enable “App Store and identified developers” in the “Security & Privacy” screen of System Preferences. If you are still being warned about running the application, click on ‘Open Anyway’ on the same screen.

Install Etcher on Windows
After you have downloaded Etcher, go to your Downloads folder and double-click the exe file to install the application in Windows.
Create your Linux Mint 21 USB drive with Etcher
Etcher configures and writes to your USB stick in three steps, each of which must be selected sequentially. The below steps are the same in macOS and in Windows.
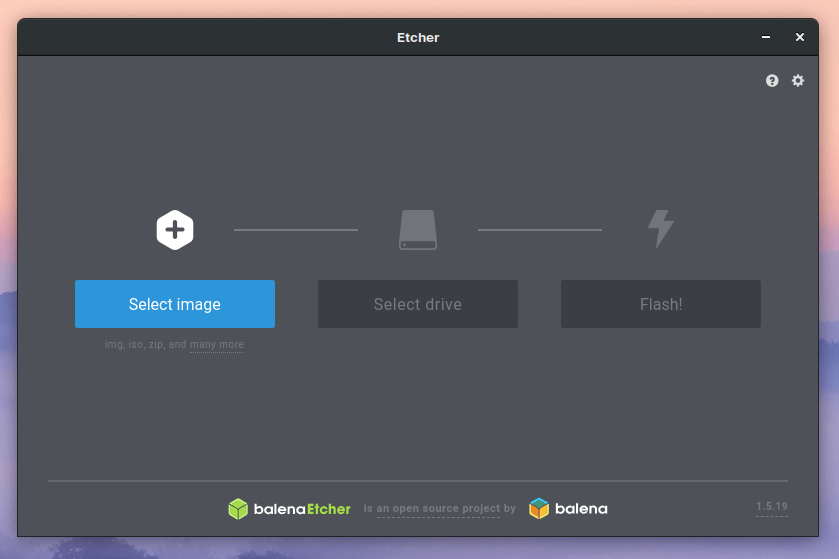
1) Select Image >> Search the previously retrieved Linux Mint 21 iso file in your Downloads folder.
2) Select Drive >> Select the name of the USB stick here.
3) Flash! >> Activated when both the image and the drive are selected.
Etcher needs low-level access and will request your password after selection.
The Linux Mint 21 USB Live stick will now be created.
That was all. The USB stick has been created. In the next article, I will explain how we can use this stick for a Linux Live session on an Apple computer or on a regular PC.
Speak to you soon.
About the free Linux Mint tutorial series
Through a number of short Linux beginner tutorials, I want to offer a simple starter guide for those who have never done anything with Linux Mint and do not know exactly where to start and where to find the necessary information. In an accessible way, it guides you through among others the principles of Linux, finding and downloading a Linux distribution, creating a live medium, finding software, installing software, executing updates, and making sure your internal and external devices work properly. This article is part of my Linux Mint tutorial series. You can find an overview of the complete tutorial series via the link below:
Linux beginner tutorials – an overview
If you appreciate what I do on this website…,