How to use Linux Mint without installing on a PC – Linux Mint 21.2 edition
by John Been June 17, 2023 · Latest blog / Linux beginner / Start with Linux
In my previous Linux Mint 21.2 tutorial I explained how to create a Linux bootable USB drive in Windows and in macOS. As already explained one of the many incredible features of almost all Linux distributions is the ability to boot a distribution directly from the USB stick you created, without the need to completely install Linux and affecting your hard drive and the current operating system and data on it. It is absolutely not necessary to perform a complete installation to be able to first use or try out Linux Mint. In this chapter of my Linux Mint 21.2 tutorial series, I will explain how to boot directly from the created Linux Mint USB drive so you can use Linux Mint without physically installing it on a PC. In an equivalent follow-up article, I will explain how to use Linux Mint without installing it on an Apple computer.
Content
- How to start a Linux Mint Live session
Article information
- Linux Mint 21.2 Cinnamon
How to start a Linux Mint Live session
Okay, so you have the Linux USB drive available now. If not then first follow all the steps in my previous tutorial “How to create a Linux Mint bootable USB in macOS and Windows“.
How to create a Linux Mint bootable USB in macOS and Windows
The nice thing about having this magical fresh Linux Mint bootable drive is that you can try Linux Mint now on whatever desktop or laptop you want, without impacting the existing content. The environment you will start from your USB device is often called a live environment, So you don’t need much to try Linux Mint without worrying about your current setup. Well, of course, the device needs to have a working USB slot to be able to use it, but that is basically it. So start going through the following steps:
1) If you have not already done so, first shut down your computer.
2) Then put the Linux Mint USB stick into a free USB slot.
In the next step, you are going to start your computer. Directly after that, you need to be aware of the options that will be shown on your screen. If all goes well, in the first couple of seconds, right after seeing the logo of your motherboard supplier, you will see an option to go to Setup or to go to the Boot menu, like the example below in the top right corner of the screen.
3) So start your computer.
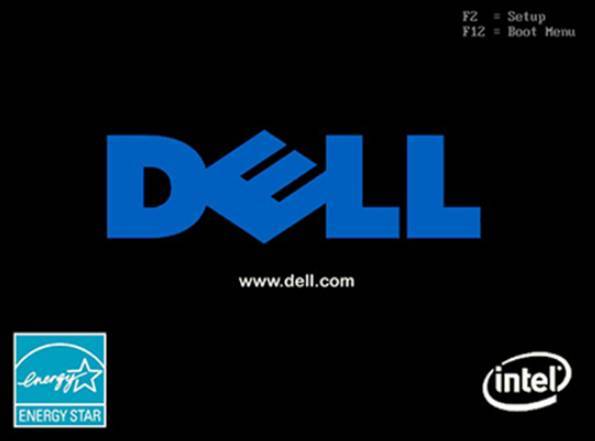
How to start up your boot menu depends on things like the brand, type, and age of your computer. But for example, if you have an ASUS computer it can be Esc or F8, if you have a Dell computer it probably is F12, for most HP computers it is Esc and for a Lenovo computer, it is probably F8 or F12. So take a good look at the notification on your screen as it normally pops up only for a short moment, or search the internet for your specific model. And you can find more information on hotkeys for the boot menu and BIOS settings for example at the following resources:
or
www.wikigain.com/boot-menu-option-keys-for-all-laptops-desktops/
4) So select the correct option to go to your boot menu. In the example above it is F12. Sometimes it is necessary to hit that key a couple of times till the boor screen pops up.
If everything went well, you see a new screen now with the option to boot from your hard drive or from USB.
5) Choose the generic USB option or if applicable choose the correct USB drive.
6) Now a Linux Mint boot menu with some options will be presented. Choose the option “Start Linux Mint 21.2 Cinnamon 64-bit”.
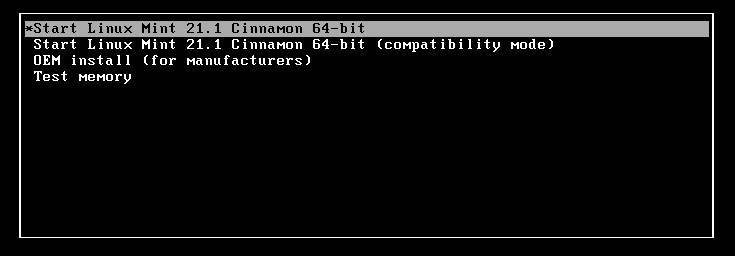
Now the computer will boot into your own Linux Mint Live environment.
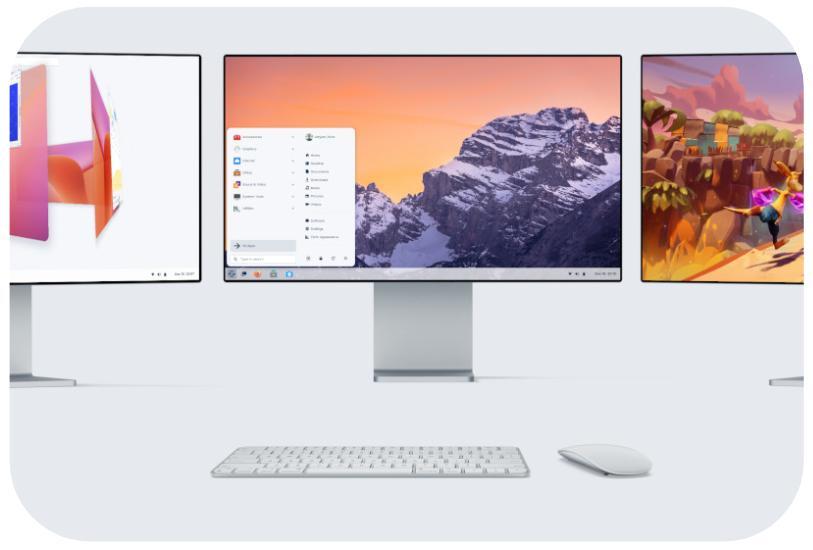
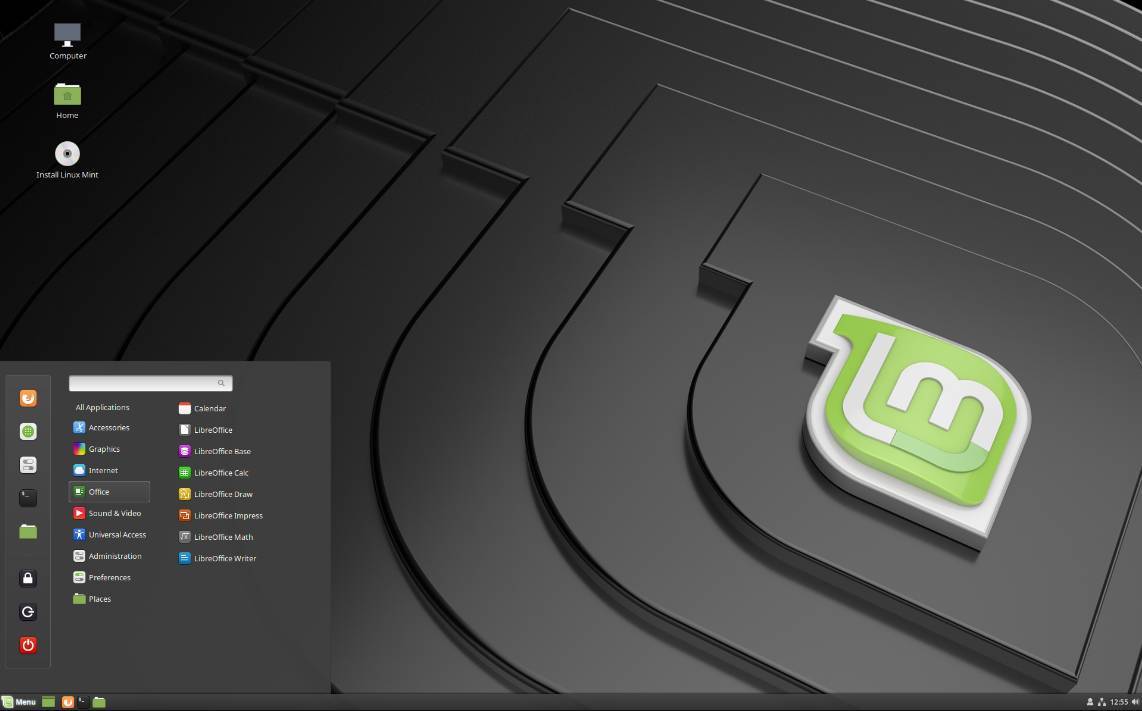
Now that Linux Mint has been booted into a live session the real fun can begin. If everything went well you will see a desktop environment that probably looks something like the screenshot below.
Final words
Final words
I hope you are as excited as I was the first time to have your first look at this beautiful Linux Mint distribution. Just browse around and try things out.
In a follow-up tutorial “Using Linux Mint for the first time” we will have a more in-depth look at what you will see and can do as a first-time user. There I will show you the basic elements of the Linux Mint distro and I will go much more in-depth into some specific functionalities of this great operating system. But before doing that, we will first have a look at how to install Linux Mint on your hard drive or SSD, via my tutorial “How to install Linux Mint on a PC or Mac“.
Have a look at my latest book on Linux, in Paperback or Kindle format.
For more info on my book click here.
When you want to buy the book click on the image below.
If you appreciate what I do on this website…,