Make color accurate prints in Linux with TurboPrint
by John Been July 22, 2022 · Graphic artist / Graphics / Latest blog / Photographer / Photography
Many people only need to print a simple document with perhaps only text and at most some graphs and diagrams. Absolute color accuracy is not that important for most of us. But what if you are a professional photographer, or photography is your passion, then you have much higher demands on the output quality and color accuracy delivered by your printer. The problem is that professional printers such as the popular Canon PIXMA PRO-10s or the classic high-end desktop printer Canon PIXMA PRO-1 are not well supported in Linux. But there is a commercial alternative available with the name TurboPrint that could help you out. Let’s have a first look.
What is TurboPrint
TurboPrint is a very complete printing solution for Linux. According to the manufacturer, the TurboPrint software can get you the highest possible print quality under Linux. The integrated color management settings and functionalities and the support for ICC profiles can result in color perfect results (if you are interested, read more about color management in Linux in my article How to color calibrate your monitor in Linux).
There are over 600 printer models supported in TurboPrint. An extensive user interface enables you to manage all aspects of your printer, like information on printer activity and remaining ink, choices on photo cartridges and print resolutions, maintenance jobs for cleaning nozzles and alignment of the print head, and choices on special papers.
A first look at TurboPrint
You can download a 30 days trial version to see if it is something for you. After you downloaded and installed the .deb file you can set up your printer. But first turn on your printer.
1) Via the Application menu in your Linux distribution search for TurboPrint.
2) Select TurboPrint Control.
The TurboPrint Control Center will be opened. The first time you open TurboPrint you must go through an installation process, which is straightforward. When you finish that you will see the following screen.
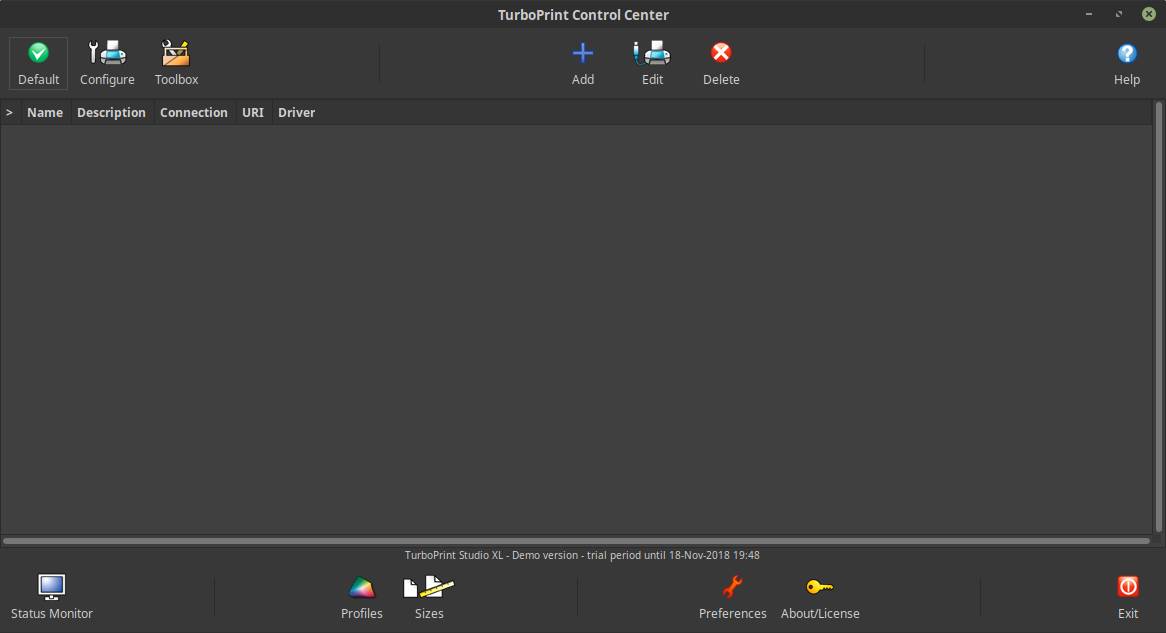
3) Click on the plus sign to add a new printer.
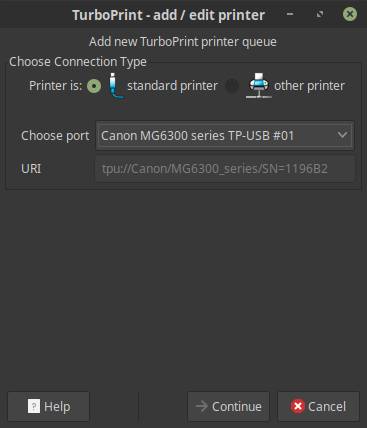
4) Choose Standard printer, select your printer and click Continue.
5) Choose your model.
6) Give your Root password and click OK.
The TurboPrint Monitor will be opened.

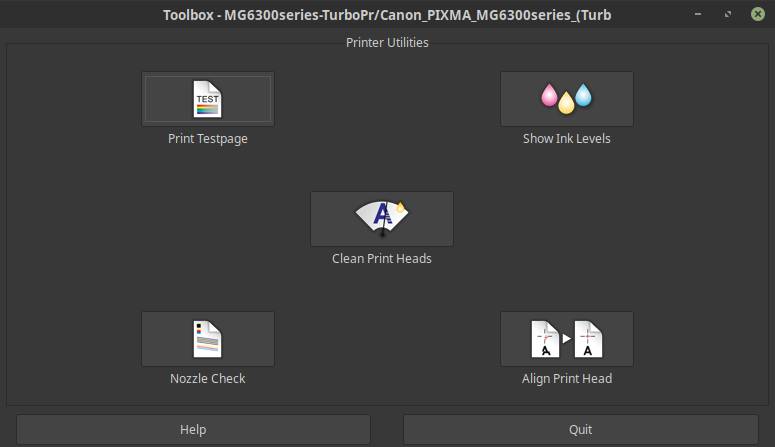
Here you get all kinds of information on your printer, like ink levels, settings, jobs and ink statistics. Here you have access to the printer toolbox in which you can print test pages, show ink levels, clean print heads, check nozzles and align the print head.
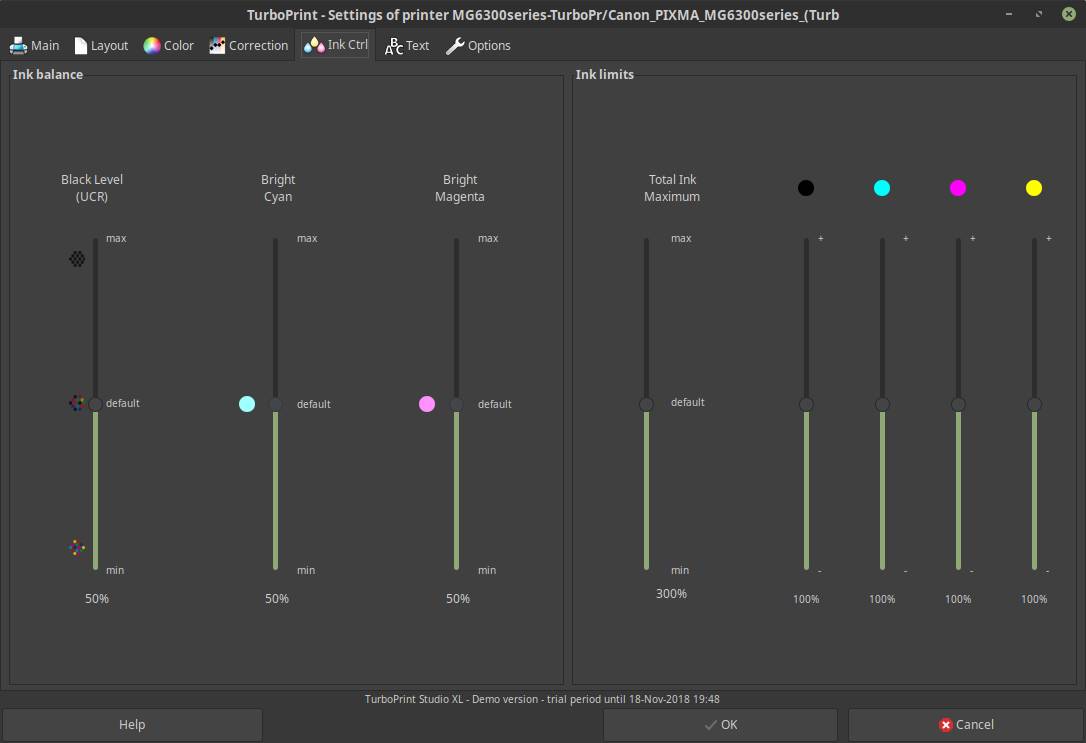
But you can also access the printer settings, where you can select the quality, paper, dithering, brightness, contrast and saturation, layout, reference light, gray tones, color correction on the different inks, etc.
TurboPrint is of course a commercial solution, but for professional purposes where the standard driver is not good enough or even not available at all, this piece of software makes it possible for professional photographers and other use cases to make the switch to Linux as well.
This was of course a first look at TurboPrint. In a future article i will go more in depth on what TurboPrint has to offer and what it can do for more serious printing.
If you appreciate what I do on this website…,