How to setup Parental Control in Linux Mint
by John Been October 28, 2018 · Home user / How to / Latest blog / Linux beginner / Start with Linux / Tools
A Personal Computer is called a Personal Computer, because it is mostly used for personal purposes. But what if this computer is intended to be used as a family computer and you do not want your children to have exactly the same possibilities as you have? Or maybe you installed a separate Linux computer for the children in their room, but for which you still want to be in control for what they can or cannot do with it and at what moment of the day. You probably want to arrange some restrictions for your children, such as the times at which they can use the Linux family computer or their own Linux computer, the length of the time they can use it and most likely you want the limit their rights to do administrative tasks. In this article I explain how to setup Parental Control in Linux Mint.
What to consider to setup Parental Control on your Linux Mint computer
When we think about parental control for the use of the computer by your children we have to consider some important focus areas:
1) Disable the standard guest account
2) Create kids accounts without administrator rights
3) Determine when the children are allowed to use their computer
4) Limit the applications you want your kids being able to use
5) Limit the type of websites that the children are allowed to access
So let’s start.
Disable the standard guest account
First of all we you should disable the guest account, as the kids should not have an alternative way to use the computer that does not require a password. A guest user can access internet but cannot change settings. The latter is fine, but unlimited internet access is not what we want to provide.
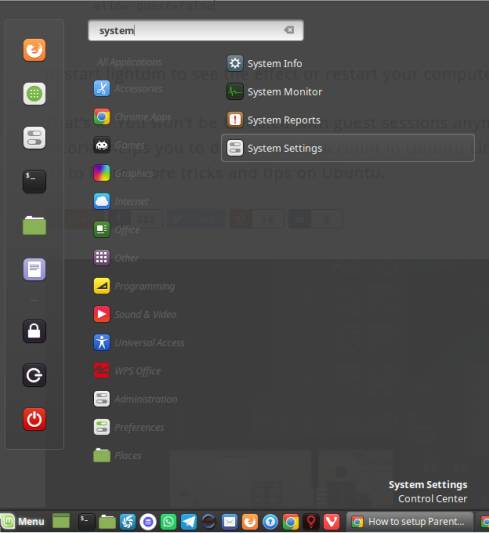
1) Open your system settings via your applications menu.
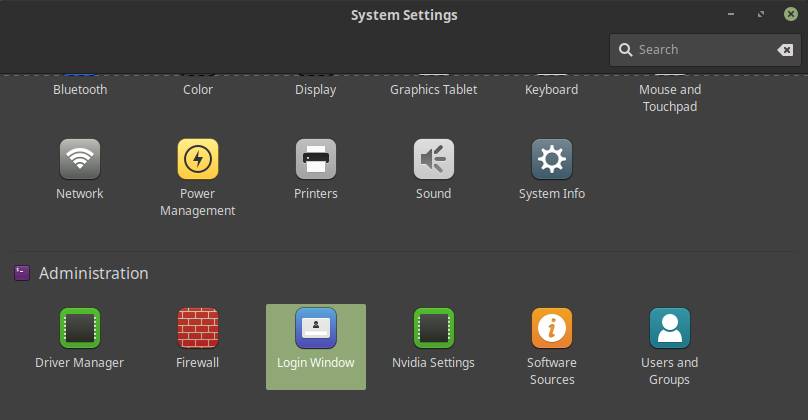
2) Look for the settings for Login Window.
3) Select the tab Users.
4) Deselect Allow guest sessions.
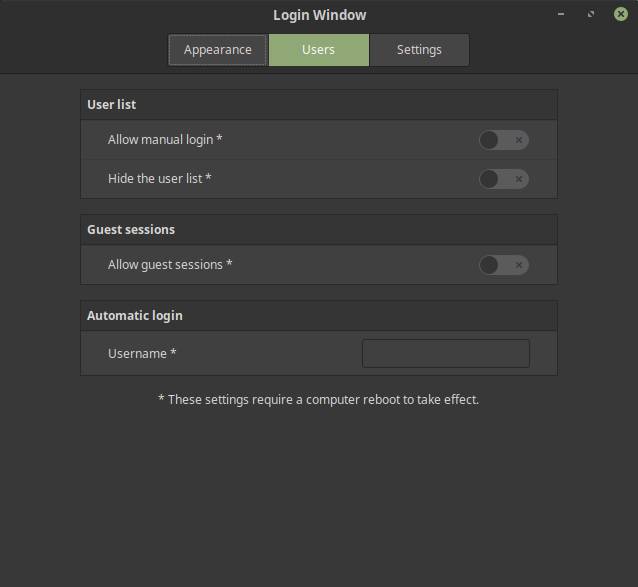
Note: You need to restart your computer to effectuate this change.
Create kids accounts without administrator rights
The next step is to create separate accounts for your kids.
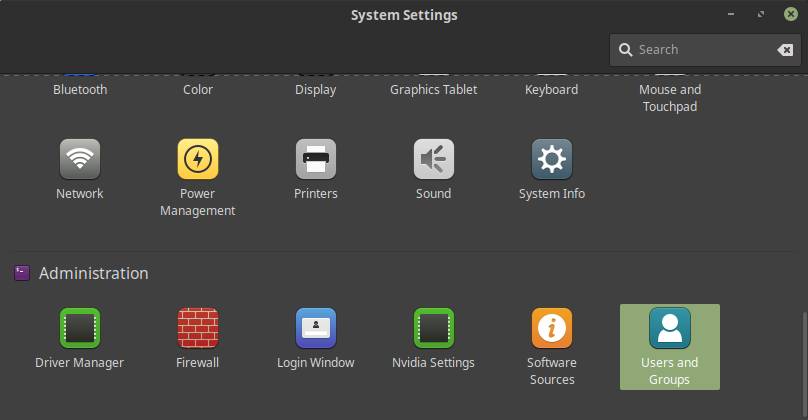
1) Open your system settings via your applications menu.
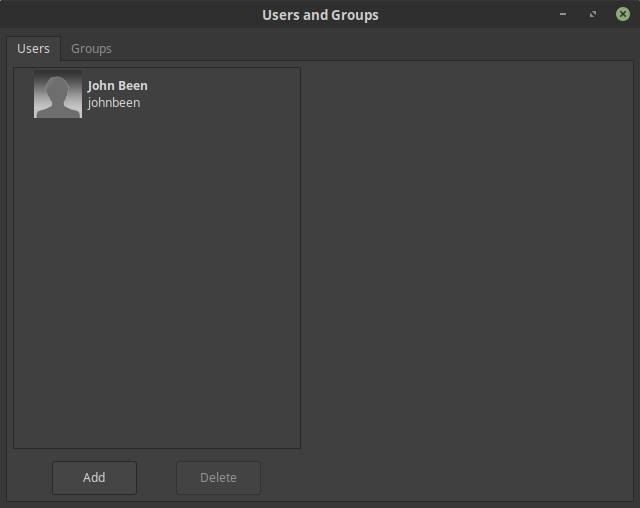
2) Select Users and Groups.
3) Click on Add.
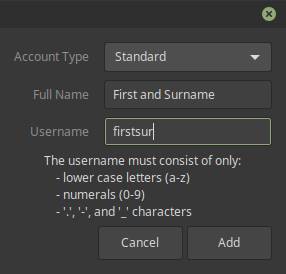
4) Select Account Type Standard (you probably don’t want to give your kid admin rights), type the full name of your kid and add a user name. Click on Add.
The account has now been created without the need to use a password. Maybe that is how you like to keep it, or maybe you give the kids some privacy and want to give them their own password.
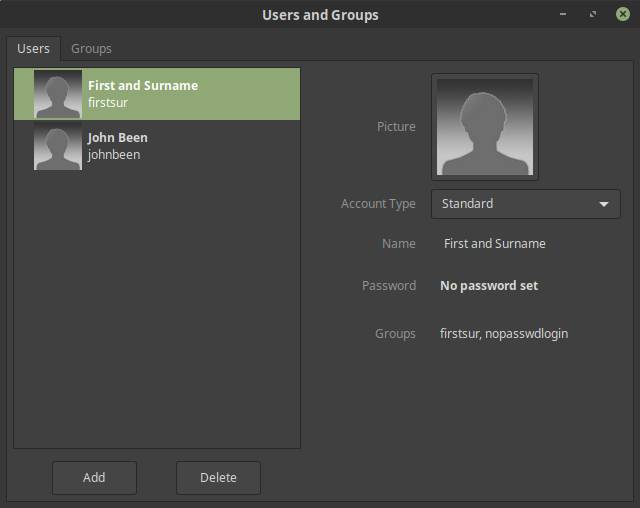
5) If you want to set a password click on No password set.
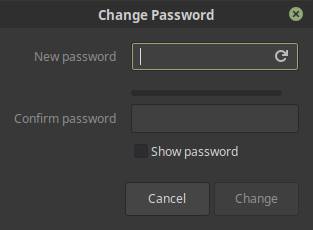
6) Type a password twice and click on change.
That’s it!
Determine when the children are allowed to use their computer
There are not many parental control systems available for Linux, but Timekpr is a good one. Linux Mint does not have this time management parental control application in the standard repository, so we need to install that ourselves. My prefered option is to do that via a PPA (Personal Package Archive).
Install Timekpr
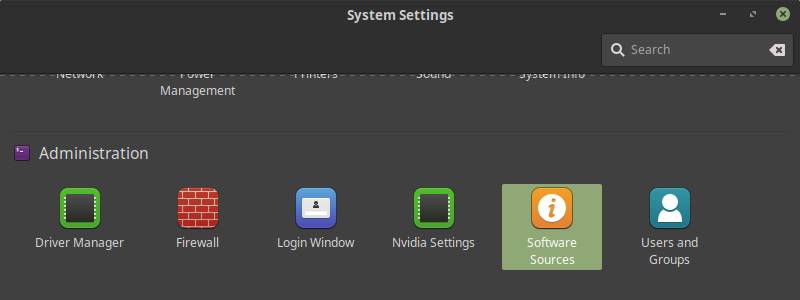
1) Open your system settings via your applications menu.
2) Select Software Sources.
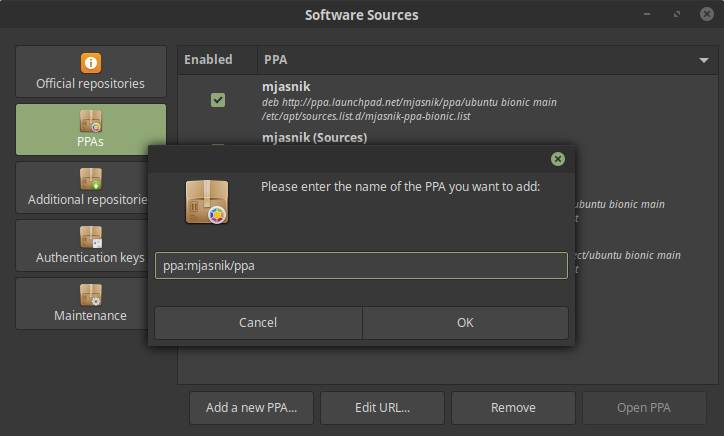
3) Click on PPAs.
4) Click on Add a new PPA.
5) Fill in: “ppa:mjasnik/ppa” and click OK.
Now the following confirmation will be shown.
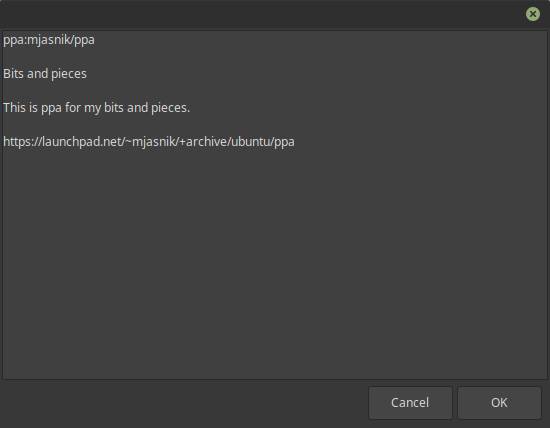
6) Click on OK again.
7) Open your Software Manager.
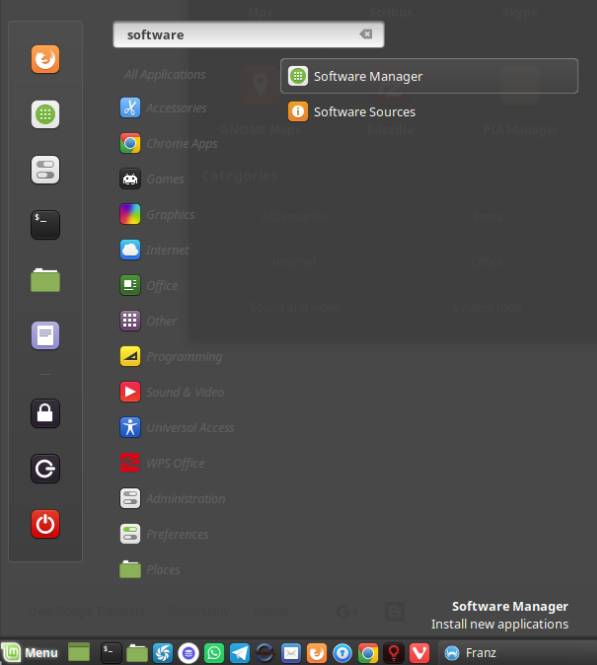
8) Search for Timekpr.
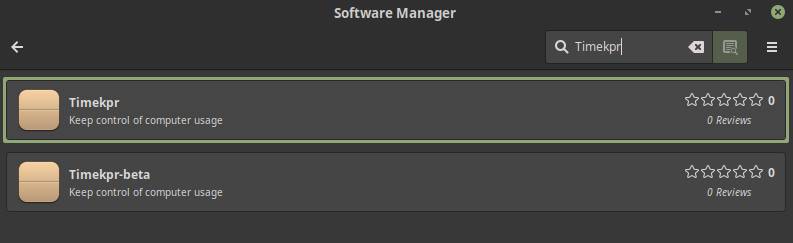
9) Click on Timekpr and next click on Install.
Some of you like to use the command line. So this is for you:
sudo add-apt-repository ppa:mjasnik/ppa
sudo apt-get update
sudo apt-get install timekpr
Setup and use Timekpr
After you installed Timekpr, we can do the setup.
1) Start Timekpr via your applications menu.
The following Timekpr Control Panel will be shown:
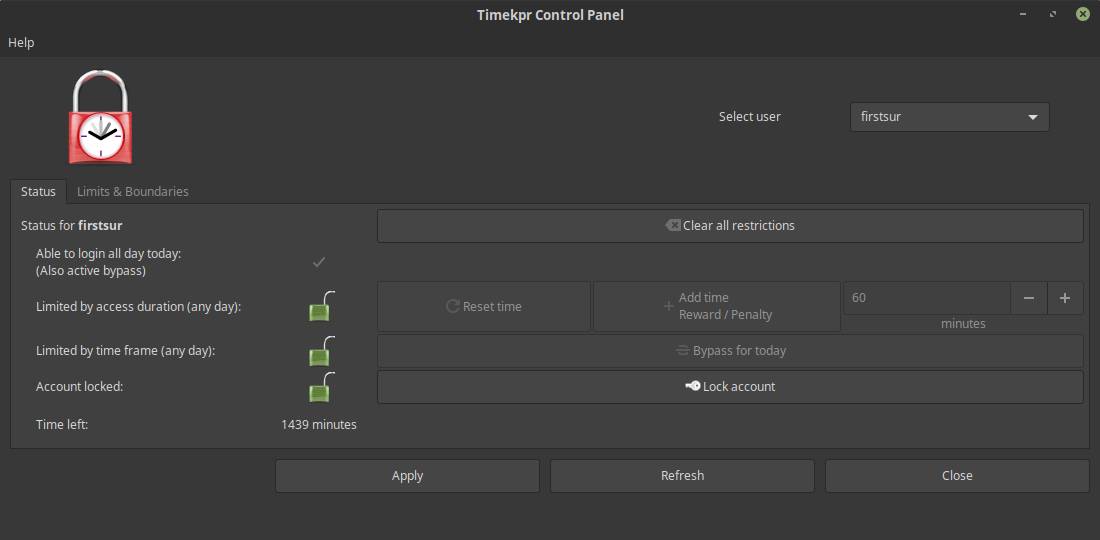
2) Select via the dropdown the user you want to change the settings for.
3) Go to the tab Limit & Boundaries.
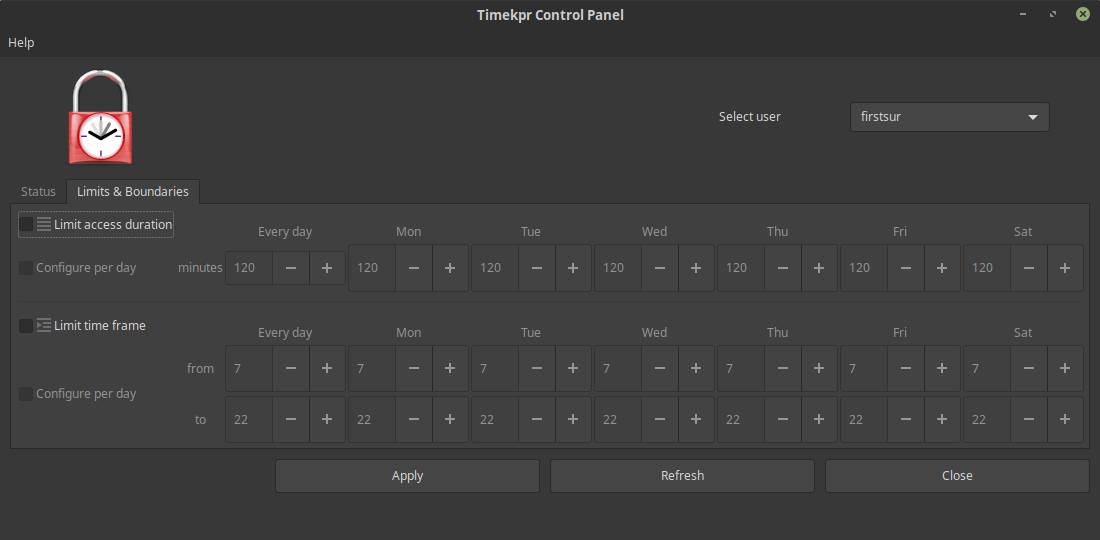
In this screen you can determine if you want to limit the access duration and limit the time frame. You can set these values standard for each day, or for each day separately. You can do this individually for all users that have an account on the shared computer.
4) Make your required changes and click Apply.
5) Go to the Status tab.

In this screen you can add time rewards or give penalties, grand a bypass or lock the account
When one of your kids has been logged in via their own account they will be notified about the time that is still left for them for that day. They can look it up manually as well by hovering over the padlock icon.
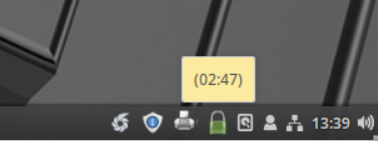
When they right click on the padlock they have the options Time left, Properties, Timekpr Control Panel and About. Timekpr Control Panel can only be activated by the parent with the right credentials.
Limit access to applications that the children are allowed to use
This one sounds like it could be complex, but it is actually the most simple one. As your kids are already defined in an earlier stage as Standard User, they are not allowed to install whatever application. When they try to install an application with the Software Manager or via a sudo command an administrator password will be requested.
Limit the type of websites that the children are allowed to access
When I did my research for this blog post I saw a lot of discussion on parenting in general and how you should keep your kids away from intentionally or unintentionally visiting inappropriate websites. Some people say that you should sit with your kids and discuss what is out there and that they should be aware and careful when surfing the web. Others think you should block all the types of websites that are inappropriate and only give access to whitelisted websites. In this one I stay away from giving my personal opinion, as the actual parenting is your responsibility. So I only give the means if you need them.
In Linux Mint there is no specific functionality to block domains or only activate specific domains. In the Mint repository there is the application Mintnanny, which is quite old and not actively supported that enables you to make a list of sites that you don’t want to show to your kids. But the problem is that it is almost impossible in this way to keep your kids away from sites as you need to add them all manually and there are probably far more sites you don’t want your kids to see than you are able to add to the list. But if you want to use this application, do the following:
1) Open your Software Manager.
2) Search for Mintnanny or Domain blocker
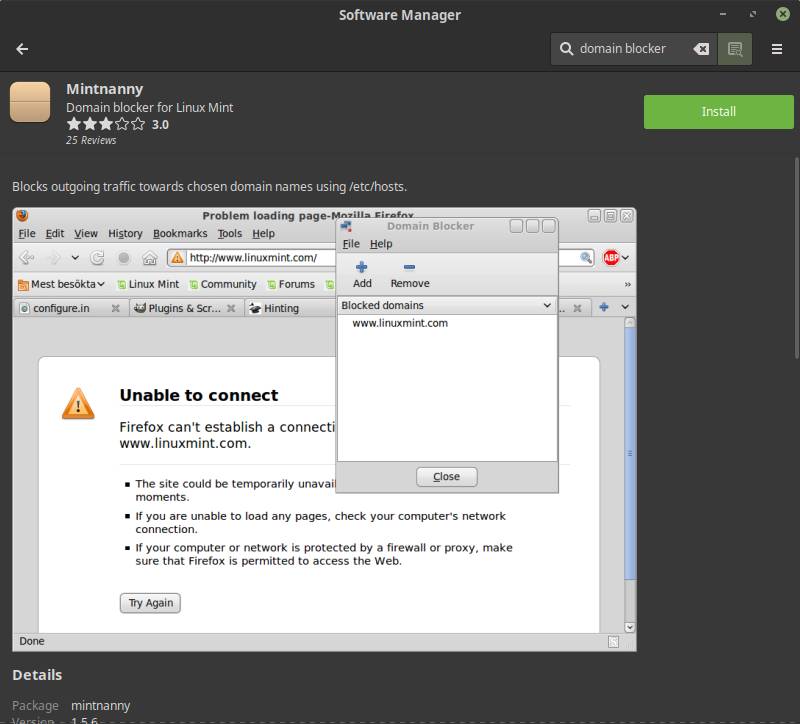
3) Click install.
4) After install has been finished click on Launch.
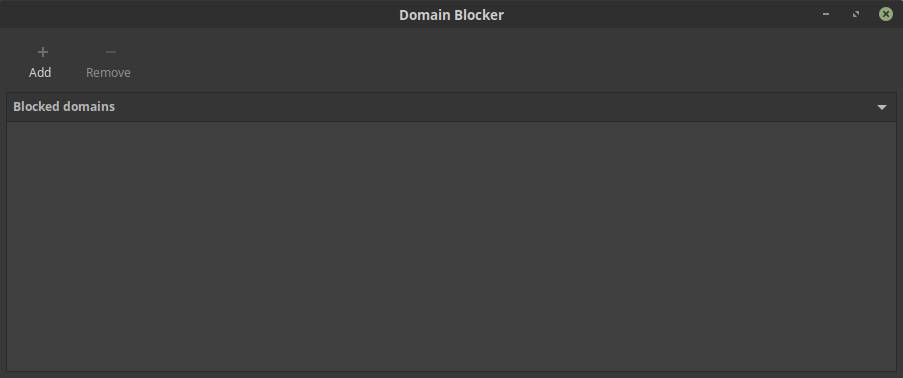
5) Click Add.
6) Type the name of the domain you want to block.
7) Click OK.
Repeat this for every domain you want to block.
You can also use specific plugins for your Firefox, Vivaldi or Chromium browser. There are a lot of options available, like Parental control: Family friendly filter, Parental Controls & Web Filter and Parental Control: Porn Blocker. These kind of blockers use semantic analytics that scans the entire content of web pages on inappropriate content.
Final words
As you hopefully have seen in this article, there is a lot to think about and to do when parental control on the computer use of your children is important. Often it is also difficult to establish a good and effective balance between trust and wisdom, between releasing and limiting and to see when limitations are good or may be detrimental to further development of your kids. I wish you all the wisdom and I hope that this article gives you the technical support to support your strategy.