Even as a Linux blogger, I continue to be amazed every time how many wonderful software solutions are available for Linux. There are applications for music creation, painting, coding, photo editing and animation available for every target group or use case, that can satisfy the novice user, the serious hobbyist and the professional users. In this blog, which I hope will be the start of a series, I will talk about video editing software for enthusiasts and professional users. There is a wide variety of non linear video editing applications available for Linux. OpenShot for simple video editing tasks, Kdenlive and Shotcut for serious and semi-professional video editing, and Lightworks and DaVinci Resolve for professional video editing projects. In this article, I am going to explain How to install DaVinci Resolve on Ubuntu based Linux distros.
Note: The best chance for success of installing and using DaVinciResolve on Ubuntu is when you have an NVIDIA graphics card. Users with an AMD based graphics adapter share different stories on a successful implementation.
What is Davinci Resolve
Although open source video editing applications such as Kdenlinve, Openshot and Shotcut are fantastic non-linear editing solutions for Linux users, these are not applications that are used at Hollywood production level. But Blackmagic Design, a producer of both professional hardware (cameras, monitors, video hubs, eGPUs, hardware control panels, consoles and storage solutions) and editing software for the visual industry, has decided to release a Linux version of its highly professional non linear video editing suite DaVinci Resolve to the Linux community for FREE. And this is not a completely stripped-down version of their commercial product, but offers almost all the functionalities that the paid version contains.
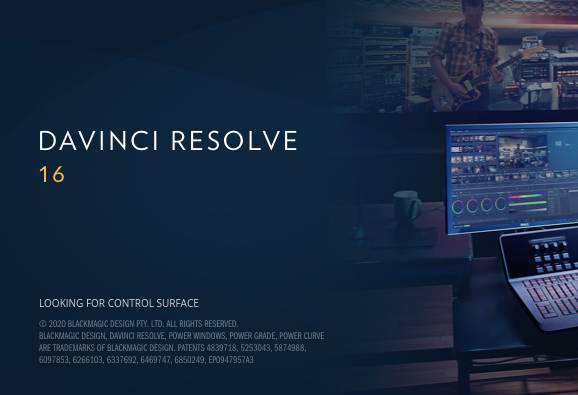
Source: https://www.blackmagicdesign.com/media/
DaVinci Resolve is a very professional application with its roots in color correction. When it was originally only a color correction tool, it was the go-to tool for many Hollywood films and major TV productions. In the following years, however, it has evolved into a complete editing suite with, next to color correction, also non-linear editing and professional audio post production and is a serious alternative to Adobe Premiere and Final Cut X.
DaVinci Resolve offers a set of powerful tools for video editing, color correction, audio post production and visual effects. These functionalities are offered in a streamlined workflow. With a single click, you can instantly move between editing, color, effects, and audio. Plus, you never have to export or translate files between separate software tools because everything is in the same software application.
In a follow up article I will go more into depth on what DaVinci Resolve has to offer, but in this article I want to explain How to install davinci resolve on ubuntu based linux distros.
How to install davinci resolve on ubuntu based linux distros
What is a bit strange in my opinion is that Blackmagic Design releases the DaVinci Resolve application in the base only for Linux Red Hat and CentOS Linux. That while there are more popular Linux distributions like Ubuntu and derivatives like Linux Mint, Elementary and Zorin OS. But maybe I am a bit too biased, because my personal preference is for Ubuntu based distributions. DaVinci Resolve for Linux does not run out of the box on distributions other than the preferred Linux Red Hat and CentOS distributions, but that does not mean that it is not possible to run the software on other Linux distros.
In this article, I will describe how to install davinci resolve on ubuntu based linux distros. And it is a bit more complicated than usual, but because so many Linux users want to use this software on their Linux implementation, better and easier procedures have been developed in the past years to install DaVinci Resolve on other distros in a more simple way.
Download DaVinci Resolve
1) Go to the following DaVinci Resolve sub page of the Blackmagicdesign website:
https://www.blackmagicdesign.com/products/davinciresolve/
2) Although there is all kinds of really nice information on this page, for now you should scroll completely down to the download section.
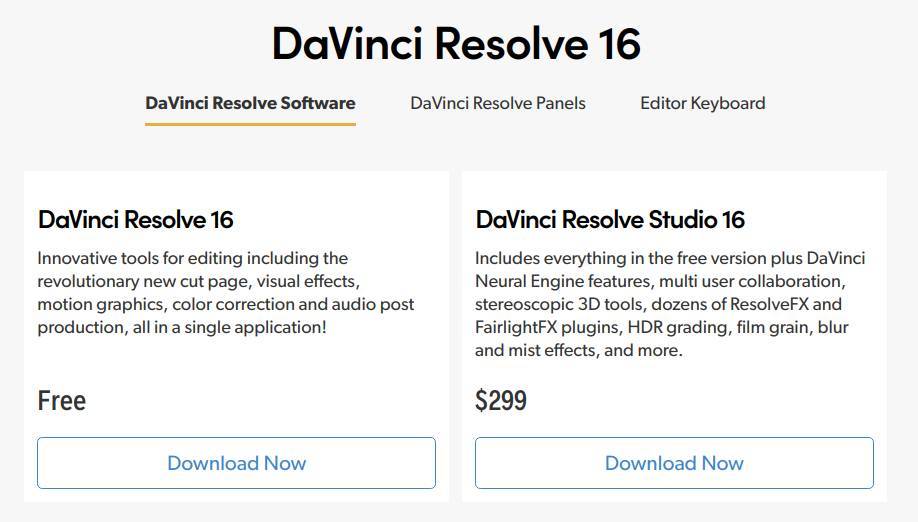
3) In the Free section click on Download Now.
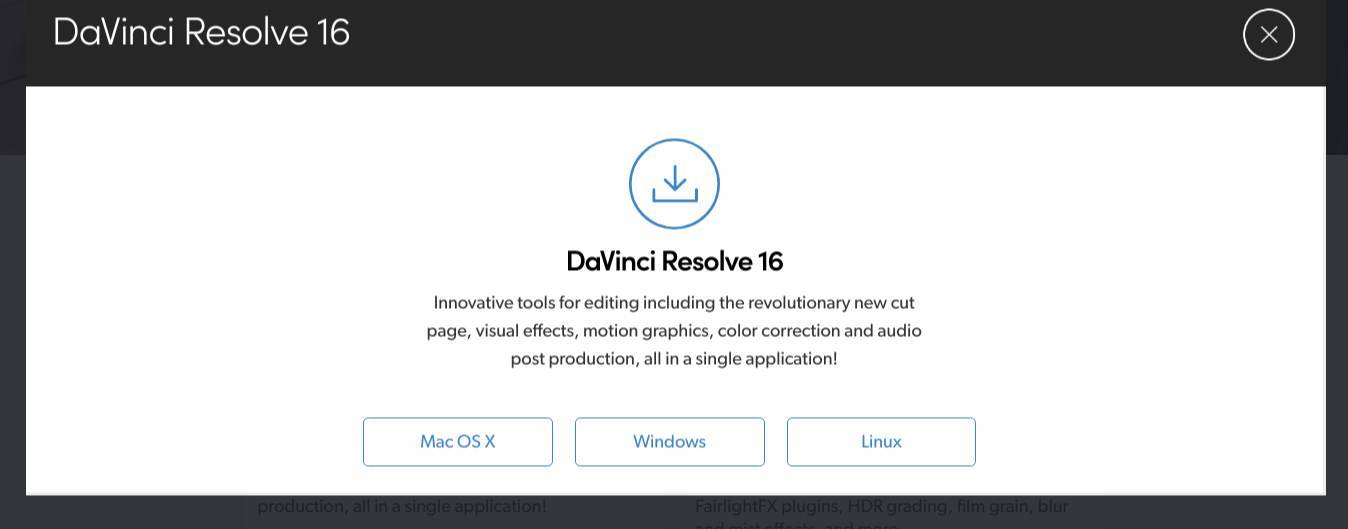
4) Click on Linux.
5) Fill in your personal details and click on Register & Download.
6) If your download starts automatically click on the provided link.
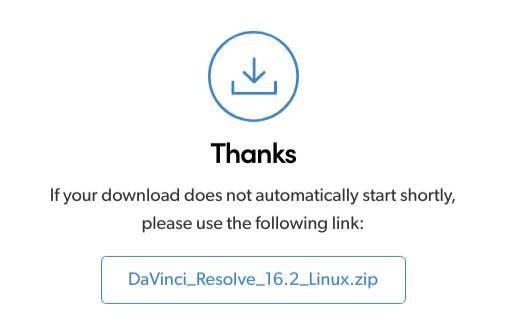
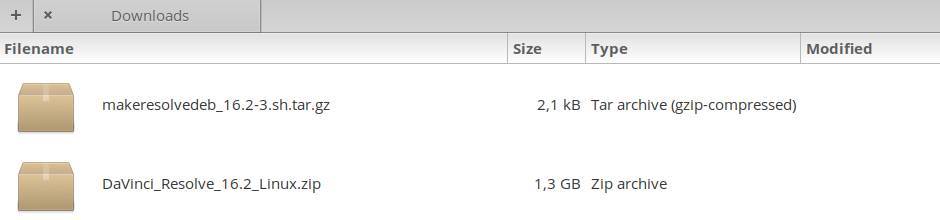
Now DaVinci Resolve is in your Downloads folder with 1.19 GB in size if you downloaded version 16.2.
Make Resolve deb script
We can’t just install the downloaded version of DaVinci Resolve. We need a script that helps us to do a correct installation.
“MakeResolveDeb is made for Debian and Debian based derivatives such as Ubuntu and Linux Mint. MakeResolveDeb takes the official installer, unpacks it, and then reassembles it into a *.deb package that can be installed, and removed, using your favorite Debian package management tool.”
Source: https://www.danieltufvesson.com/makeresolvedeb
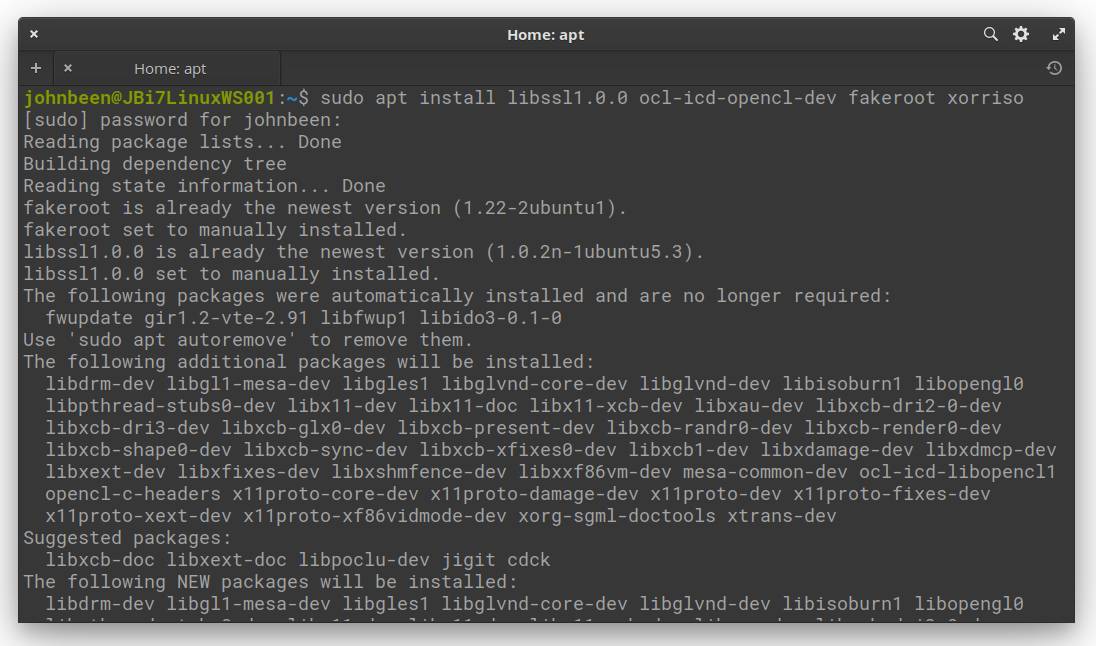
1) First open your Terminal.
2) Then install dependencies for the script by typing or copying the following command:
sudo apt install libssl1.0.0 ocl-icd-opencl-dev fakeroot xorriso
3) Go to the following webpage:
https://www.danieltufvesson.com/makeresolvedeb
On the main page there is a link to the most recent version of MakeResolveDeb, but there is a version for all different DaVinci Resolve versions available, so you should download the correct one. The version of MakeResovleDeb must match the version of Resolve you are installing. For example, if you downloaded Resolve Studio 16.0 you should get the latest MakeResolveDeb for Resolve 16.0, such as 16.0-1.
4) Go to your Downloads folder and check the version of the downloaded DaVinci_Resolve_XX.X_Linux.zip file.
In my case it is DaVinci_Resolve_16.2_Linux, so I am going to use the latest version of the MakeResolveDeb which is at the time of writing 16.2-3.
5) Go to the following section:
https://www.danieltufvesson.com/makeresolvedeb#allversions
6) Look for the latest version for your specific download.
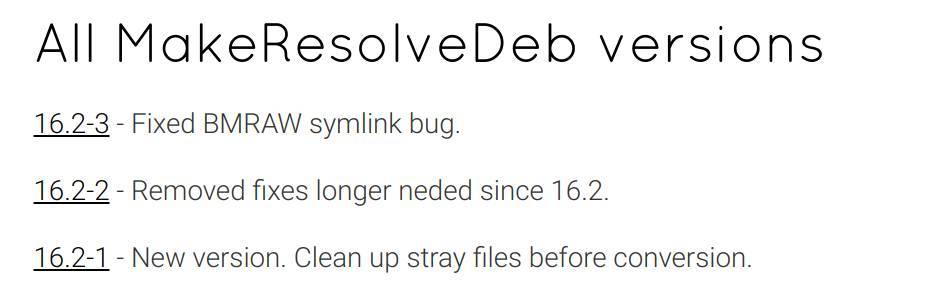
7) Download the appropriate version of MakeResolveDeb *.tar.gz.
Now you have both the DaVinci Resolve zip file and the MakeResolveDeb *.tar.gz in your Downloads folder.
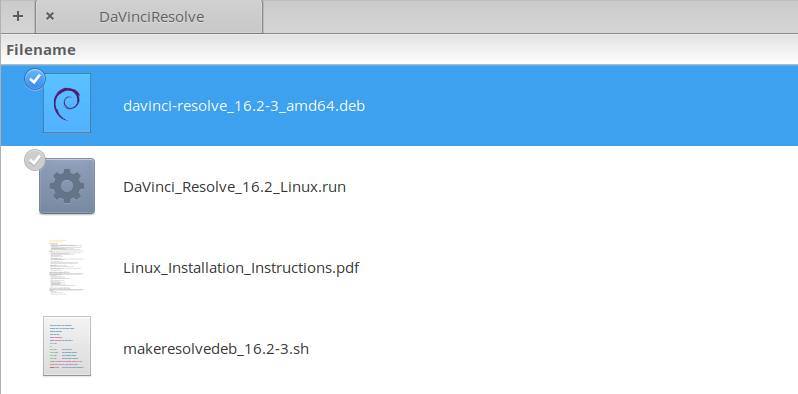
8) Create a new folder in your Downloads folder, with for example the name DaVinciResolve
9) Now double click the DaVinciResolve zip file and extract it in the new DaVinci Resolve folder.

10) Now double click the downloaded MakeResolveDeb *.tar.gz file and extract it in the same new DaVinci Resolve folder..
Now that you have unzipped both parts in the same directory we need to create the new *.deb file by using MakeResolveDeb. Before we can start, MakeResolveDeb needs to know if we are using the free or the paid version, thus Resolve or Resolve Studio. This is done by giving the MakeResolveDeb script the argument “lite” for Resolve or “studio” for Resolve Studio.
11) Open your Terminal, type the following command and hit enter:
cd /home/{YOUR HOME FOLDER}/Downloads/DaVinciResolve
In my case that is “cd /home/johnbeen/Downloads/DaVinciResolve”
12a) For the free version now type:
./makeresolvedeb_16.2-3.sh lite
12b) For the paid Sudio version now type:
./makeresolvedeb_16.2-3.sh studio
Note: If you use another version of DaVinci Resolve you need to adapt the numbering of the above accordingly.
The process of creating the davinci-resolve_16.2-3_amd64.deb file can take a few minutes depending on your setup.
If everything went well you see the following message:
[DONE] errors reported 0
Install DaVinci Resolve
1) Go (via terminal or just your file manager) to the Downloads/DaVinciResolve folder and check that there is a .deb file now.
2) Double click the .deb file and let your system install DaVinci Resolve.
3) Now that DaVinci Resolve has been installed, go to your applications and start DaVinci Resolve.
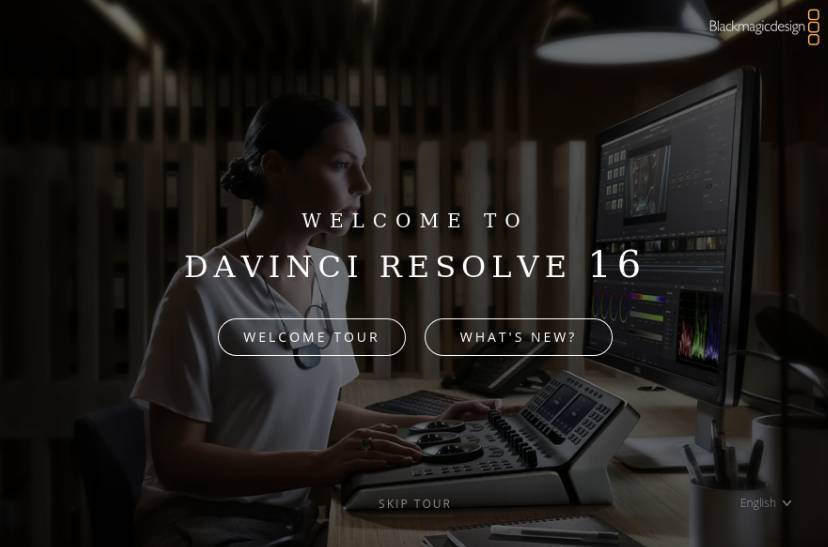
Here you can do the welcome tour, see what is new, or skip.
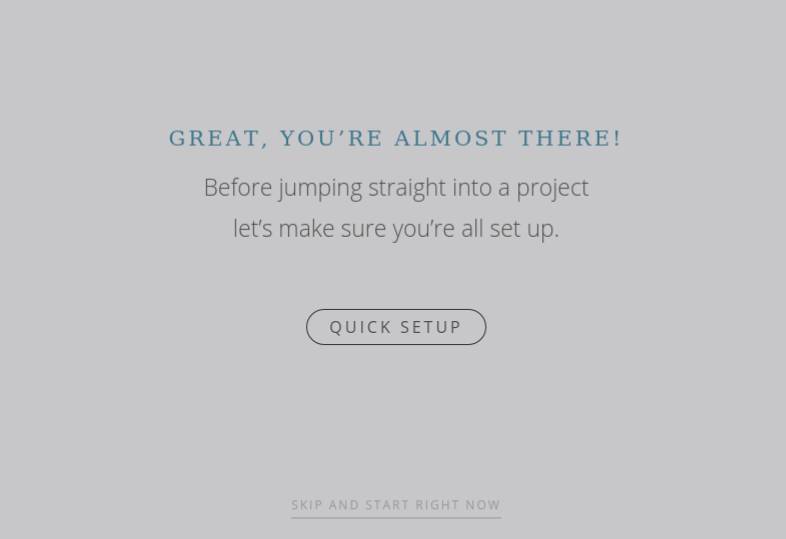
4) Now do a quick setup and you can start your first video editing project in DaVinci Resolve.
That’s it.
In one of my next articles I will explain how to convert your video files so you can use them in the free version of DaVinci Resolve. One of the differences between the free version and the paid Studio version is that the free version can’t handle every regular video format.