How to optimize your memory settings in Linux
by John Been August 20, 2022 · How to / Latest blog / Persona / Tweaker
Many Linux distributions are not optimally configured out of the box. It is done in such a way that if your memory usage reaches a certain threshold or percentage of the total internal memory that is available for your Operating System, it is switching over to use what is called the swap space. The swap is a technique to use a special swap partition or swap file as additional virtual working memory, when the Operating System thinks that is required. But using swap, which is based on your hard drive or SSD, as virtual memory, is of course much slower than your physical internal memory, so it should be used only when this additional memory is really required. But in practice some Linux systems switch over much too soon. So let’s find out how we can optimize our memory settings in Linux, or in other words, how to configure our system swap settings optimally.
What is the problem
The before mentioned swap process is based on a certain threshold. For example in Linux Mint, but also in some other Ubuntu based systems, the default value for the threshold is 60, which must be interpreted as that the swap virtual memory comes into operation when 40% of the physical RAM is in use, or when 60% of the memory is left available. This standard turning point of 60 is in my opinion a bit too cautious, especially if you have an older system with only 2 or 4 GB of internal memory, which means that your system is continuously switching in and out of swap. My advice is to bring this value down from 60 to 10, which means that swap comes into operation when 90% of the physical RAM is in use, or when 10% of the memory is still available. This behavior can be adjusted by defining the swappiness in the sysctl.conf file.
How to configure your system swap settings optimally
To better configure the threshold point to switch over to using swap, you can through the following steps to adjust the sysctl.conf file (these steps are based on Zorin OS, but are usable for other distrinbutions as well):
First let’s check the current value of the swap to see if what I was saying before is actually true in your specific situation:
1) Open a terminal session with the keyboard combination Ctrl + Alt + T.
2) Type in your terminal “cat /proc/sys/vm/swappiness” and give enter.

Here you can see that in my specific situation, a Zorin OS 16.1 installation, the swappiness value is indeed also 60, which means that my system will use only up to 40% of my internal memory before switching over to a swap file. We can do better than that.
1) Open again a terminal session with the keyboard combination Ctrl + Alt + T.
2) Type in your terminal “sudo gedit /etc/sysctl.conf” and give enter (mind the space between gedit and /etc).
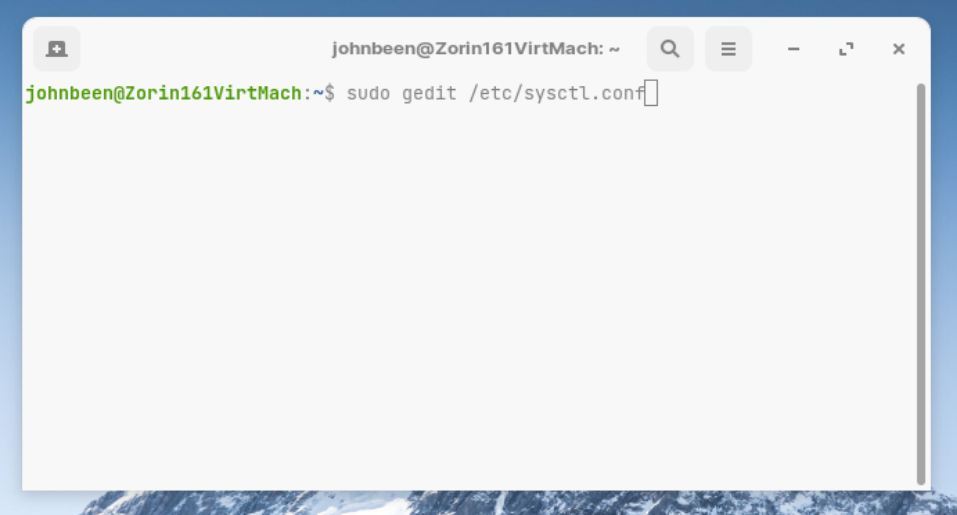
An editor will be opened with elevated privileges. Here we can edit the sysctl.conf file.
3) Go to the last line in the file and give enter to start with a new empty line.
4) Type “vm.swappiness=10” (without the quotes).
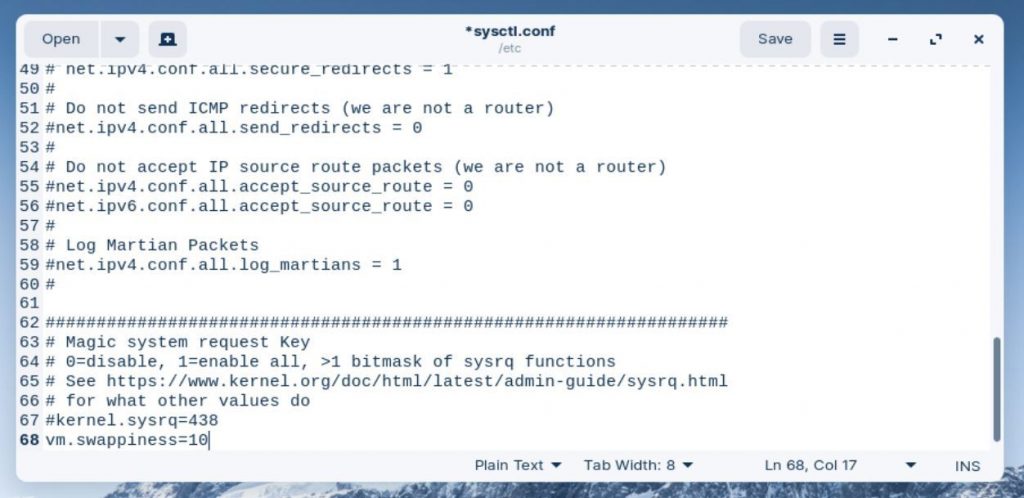
5) save the file and close the file.
6) Reboot your computer.
When the computer is up and running again you can check the new configuration.
7) Open a terminal session with the keyboard combination Ctrl + Alt + T.
8) Type “cat /proc/sys/vm/swappiness” and give enter.
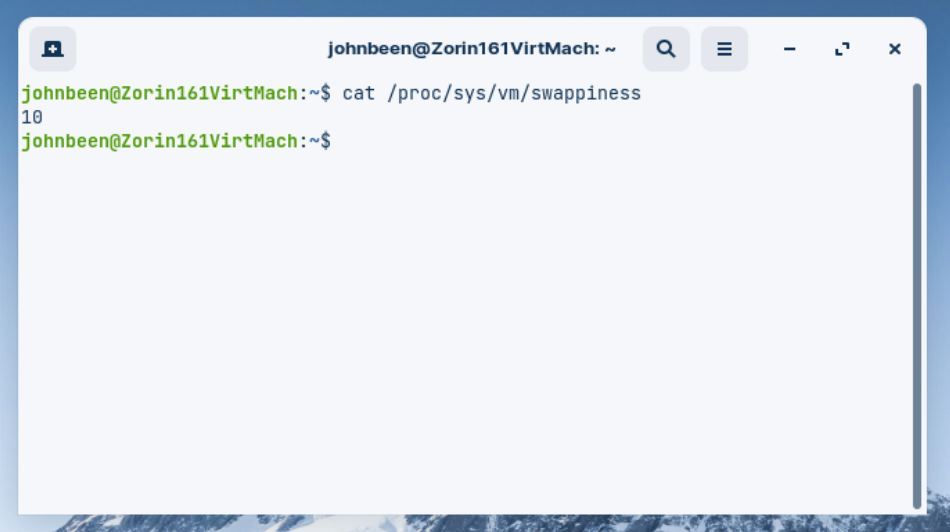
Here you can see that the swappiness value is indeed 10 now, which means that your system will use up to 90% of your internal memory before switching over to a swap file. This should keep your system more responsive when using heavier workload as it longer uses only your physical hardware.
Enjoy!